Drilling water wells might seem like a simple task. After all, humans have been doing it for thousands of years. But making sure your well is a safe, reliable water source is more complex than simply drilling a hole in the ground.
Before you remove the first cuttings, there are several items on the checklist to verify, like making sure you have the right drilling rig equipment for the project. If you are working at a remote site, it’s important to gather your materials. It’s also a good idea to make sure your portable well drilling rig is ready for operation by completing tasks such as setting up the mud pump for mud rotary drilling. These steps can seem tedious when you’re eager to start, but by taking your time, you will be more successful and efficient when it’s finally time to drill a water well.
Choose the Right Site
Start by carefully selecting the site for your water well drilling project. If this is a DIY job, contact your local water resources department to determine the requirements for permits and licenses in the area. The department may also be able to give you an idea of where aquifers are located, which can help streamline the drilling process.
Select Your Drilling Equipment
With the site selected, choose the right drill rig for the job, whether it be mechanical or hydraulic. Mechanical drills are excellent for drilling in sand, clay and loamy soils to depths of 100 or 200 feet. They’re also lightweight, portable and ideal for less-experienced operators with simple operation and maintenance.
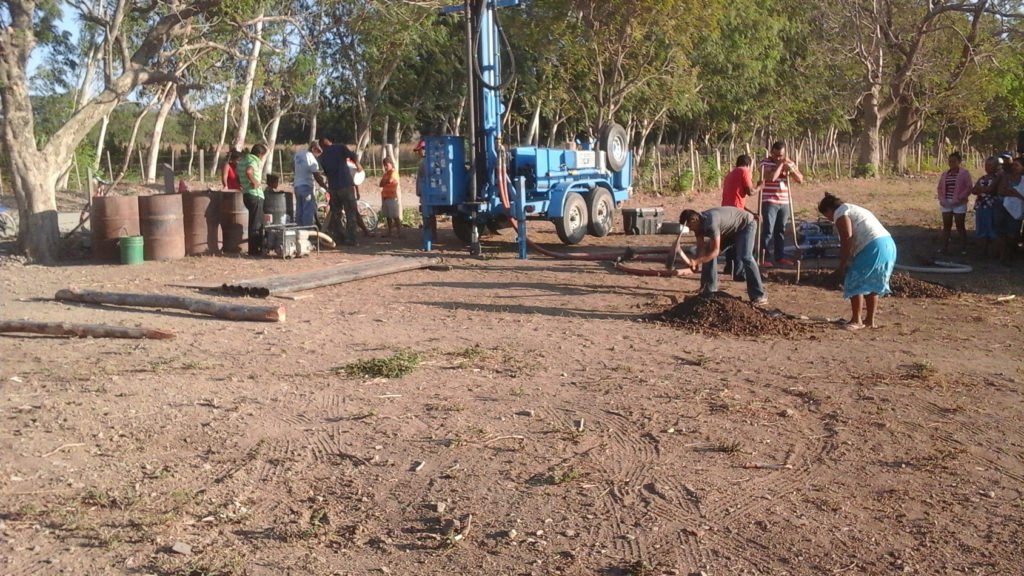
If drilling deeper or through hard rock formations, look for a hydraulic drill. They provide as much as 5,000 pounds of push-down force and can drill to 300-400-foot depths. We provide trailer- and truck-mounted drill rigs for simple set up and additional portability.
Implement Training
Before you start drilling, make sure you have the proper training with your chosen drill. Water well drills are often straightforward to operate, but having training from a seasoned professional or drilling equipment manufacturer increases your chances of achieving a safe, successful project and avoiding any potential equipment mishaps. We offer training options with the purchase of a Lone Star Drills water well drill and provide maintenance tips and other helpful videos on our website.
Drill a Pilot Hole
Despite your efforts to select an appropriate site, there is no guarantee you’ll hit water with every bore. That’s why most drilling projects should start with a pilot hole. Use the small pilot bit to bore a 4-inch diameter hole. Depending on your well drilling equipment and site conditions, the time for this process will vary. Carefully collect and record the cutting samples from this exploratory hole to develop a boring log — which will help you design your well if the site pans out.
As you advance your borehole, watch for signs that you’ve reached an aquifer:
- Thinner mud
- “Streams” of clear water in the drilling mud as it exits the borehole
- Mud temperature changes
- Rapid increase or decrease in mud level in suction pit
- Sand or gravel in cuttings
- Clay chips that are moist inside when broken apart
Once you’ve found an aquifer, use the information from your cuttings to determine the best depth for the well screen. Cut the necessary amount of well screen with a hacksaw and set aside until you prepare your casing.
Expand the Diameter
 After finding water and determining well depth, it’s time to increase the hole diameter to 6 inches using the reaming bit. To avoid borehole collapse, complete reaming, casing installation and gravel pack in a continuous operation.
Reaming creates a lot more cuttings than the pilot hole and will require frequent clearing of mud pits. Therefore, make sure you have enough fuel, drilling water and time before starting this step.
Once you’ve reached the designated depth, remove the drill pipe swiftly and install the casing. Then, flush out the drilling mud. Certain drill rigs, like our LS200, include a casing flushing tool to make this job easier. If your rig doesn’t include this feature, slowly pump clear water down the well casing to force drilling mud out of the borehole. This might require multiple drums of water, so be sure to have extra readily available.
With a very low flow of clear flushing water, gradually add the gravel pack to the hole by hand. Use clean, round gravel — like that produced from streams, rivers and beach deposits — approximately .125 to .25 inch (3 to 6 millimeters) in diameter. Never use crushed rock, as grains will lock together over time and reduce the flow of water into the well. You’ll need to have enough gravel on hand to bring gravel up to a point 3 feet (1 meter) above the top of the well screen.
At this point, the danger of collapse has passed, and it’s safe to leave the site. Cover the borehole and put away all tools before leaving.
Test Yield
If you’ve chosen your site wisely and the hole remains intact at the end of drilling, it’s time to test your well yield.
After measuring the initial water level, use a bailer to draw out as much water as you can in 10 minutes and pour it into a bucket for further measurements. Once you are done bailing, check the water level a second time.
If you can bale around 2.6 gallons (10 liters) per minute with little to no drop in water level, your well is likely to produce enough water to supply a hand pump. If the well went dry in just 10 minutes, though, don’t panic. It’s normal for an undeveloped well to produce very little water. Repeat the process for two to four days. If the well is still dry with a brief bailing at that point, there is probably not sufficient flow to support a well.
At this point, you should perform a water quality field test. There are several kits available for this; use the one you’re most comfortable with since accurate results are important.
Depending on the results of your tests, you have a decision to make. Do you develop the well and install a pump or start over at a new site? Poor water quality can affect the health and safety of people, plants and animals relying on the well, so use the parameters outlined by the test kit to determine if you move forward with development. Additionally, if your well isn’t producing at least 2-4 gallons per minute, it won’t be able to keep up with a hand pump. If that’s the case, repeat the drilling process and the ensuing steps.
The Final Steps
If the well has potential, it’s important to protect it from surface contamination by sealing, developing and sanitizing it. If you choose to look for a new location, be sure to seal the borehole to prevent injury or cross contamination.
Digging water wells isn’t always easy, but a rush of cool, clear, thirst-quenching water at the end of the day makes it all worthwhile. Reach out to us today if you have any questions about water well drilling or if you’re ready to purchase your new drill.